
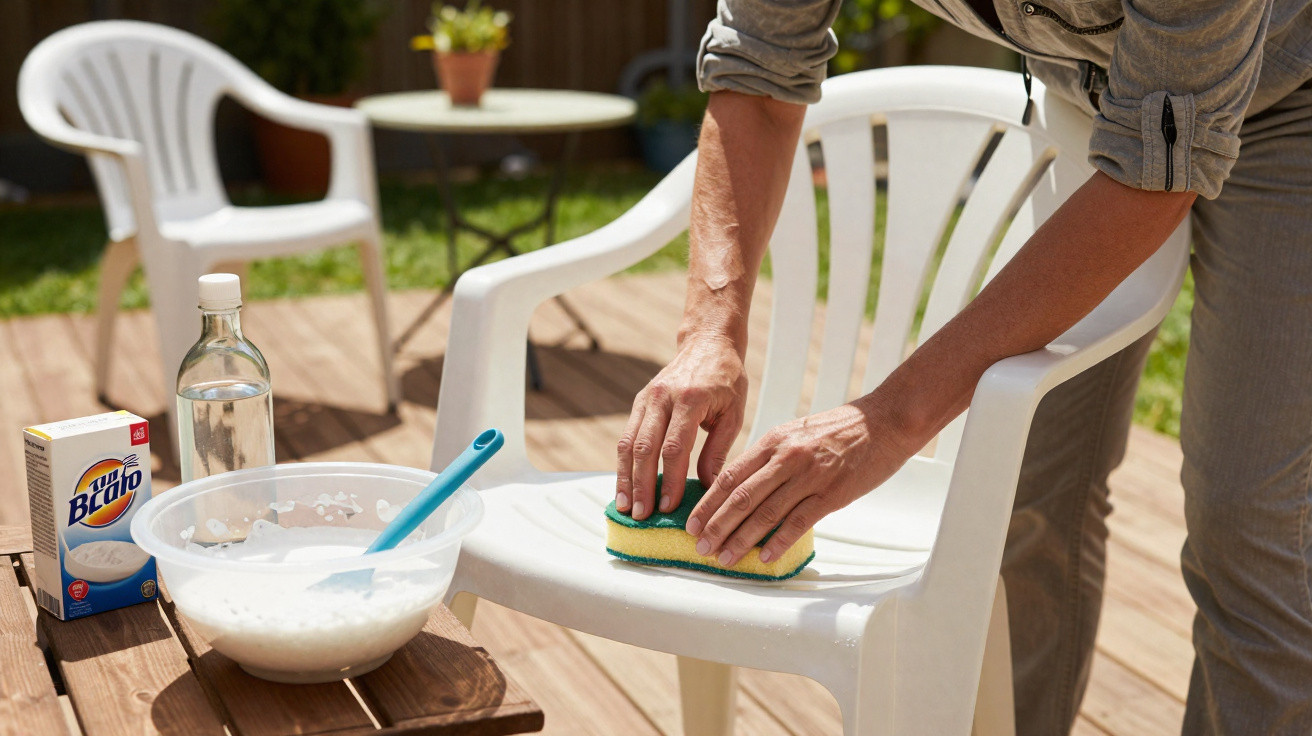
Many owners of plastic patio dining sets will recognise the scene. Over winter, grime seems to bake on, UV light weathers the surface, and the once bright white set suddenly looks fit for the tip. Throwing it out too quickly can be a false economy, though - a simple household cleaning mix can bring a surprising number of pieces back to life.
Why plastic garden furniture turns grey and yellow so quickly
Plastic is often seen as low-maintenance, but outdoors it’s constantly under attack. Sun, rain and dirt gradually change the surface in noticeable ways.
UV rays damage the outer layer of plastic, leaving it more brittle and microscopically porous. Those tiny pores then trap dust, pollen and soot. From a distance, that build-up looks like a dull grey film.
This is especially obvious on white PVC chairs: they take on a yellowish cast that makes them look dirty and old. On coloured pieces, the change shows up more as fading. Red shifts towards pink; green becomes pale and uneven.
"The more the surface is worn, the more dirt clings to it - and the older the whole set looks, even though the structure is often still sound."
Compared with wood, metal or rattan-style weave, plastic is still relatively straightforward to revive. Wood often needs oiling and sanding, metal may require rust removal and repainting, and poly-rattan can crack or fray. Plastic furniture may look tired quickly, but with a sensible cleaning process it can often be made to look significantly better again.
The household remedy that brightens dull plastic again
The approach is a two-step process: first, clean thoroughly; then tackle discolouration with a targeted mix. Many people get poor results because they go straight in with a “miracle paste” while the heavy dirt is still stuck on.
Step 1: thorough initial clean
- Brush off cobwebs, leaves and loose dust with a soft brush or hand brush
- Fill a bucket with warm water and a little washing-up liquid
- Wipe all surfaces using a soft cloth or sponge
- Leave briefly, then rinse with clean water
This first pass removes greasy films, pollen and loose deposits. Only after that can the main mixture properly work on the greyed or yellowed surface.
Step 2: the household cleaning mix
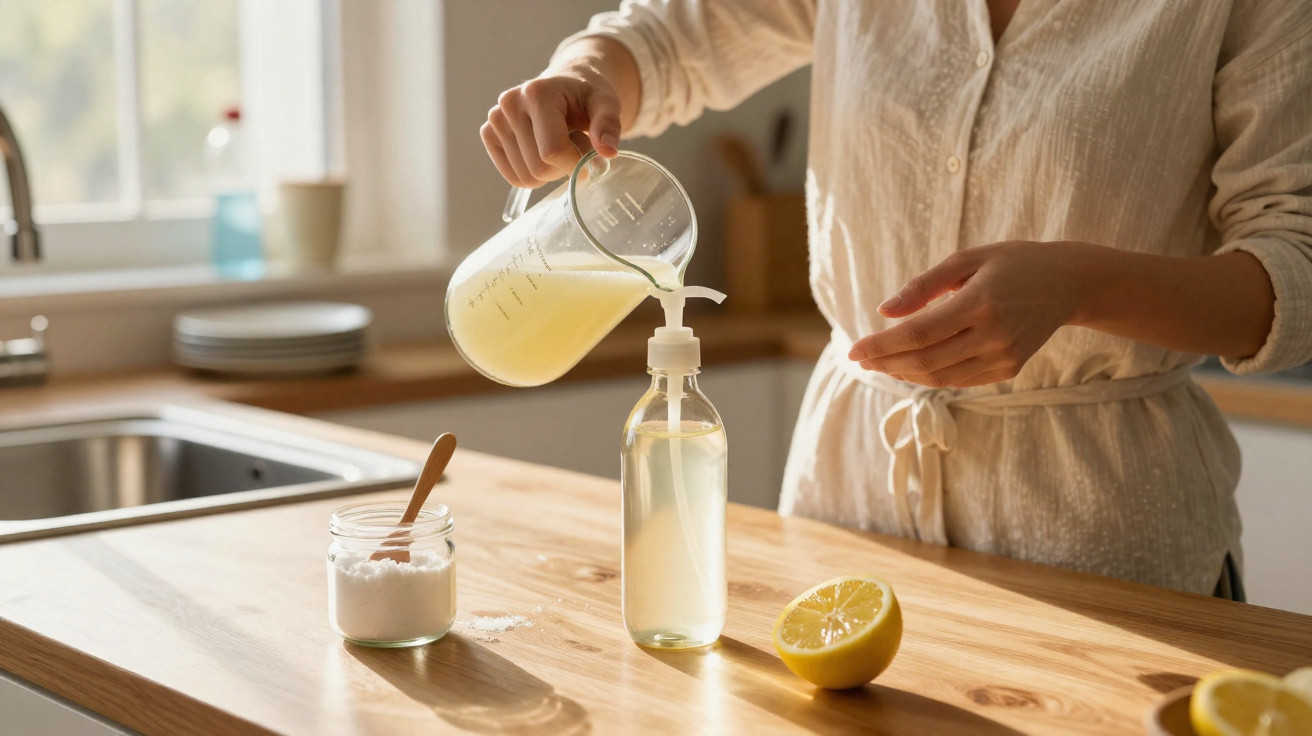
The base is a blend of lukewarm water, white vinegar and bicarbonate of soda. Add a tiny amount of washing-up liquid.
| Ingredient | Amount | Purpose |
|---|---|---|
| Water (lukewarm) | 500 ml | loosens dirt and helps spread the mixture |
| White vinegar | 1 tbsp | dissolves limescale and neutralises odours |
| Sodium bicarbonate (bicarbonate of soda) | 2 tbsp | gentle abrasive and cleaning booster |
| Washing-up liquid | 1 small squirt | lifts grease and light discolouration |
Pour the mix into a spray bottle, shake briefly, and generously spray the pre-cleaned furniture. Work it in with a soft sponge using circular motions. Leave for a few minutes, then rinse thoroughly with clean water.
"The combination of vinegar and bicarbonate is mildly abrasive without scratching the plastic, and it lifts typical greying surprisingly well."
If you don’t have a spray bottle, you can mix it in a bowl and apply it with a sponge. The key point remains: don’t let it dry on for too long, otherwise minerals can leave pale streaks.
What helps with stubborn stains - and what causes damage
Some pieces have endured more than a rainy summer. Sap, barbecue grease or black rubber scuffs from chair feet often need extra effort.
Gentle helpers for problem areas
- Cleaning stone / clay-based cleaning paste: Works particularly well on white furniture, lightly polishing without leaving score marks.
- Mild cream cleaner: Use with plenty of water and very light pressure; test on an inconspicuous spot first.
- Old toothbrush: Ideal for grooves, embossed areas and awkward corners.
With coloured furniture, it’s always worth doing a small test underneath first. Some pastes can slightly alter the shade or turn glossy finishes matt.
Keep these products well away
- Chlorine or bleach-based mould removers: they attack the material and can make marks stand out even more
- Steel wool, scouring pads, coarse sandpaper: they create scratches where dirt will collect faster later
- Pure cooking oil or car polish not intended for plastic: it leaves greasy, sticky surfaces
"Overly aggressive methods often deliver a brief ‘wow’ moment, but they can significantly shorten the life of the plastic."
Repair rather than replace: when the effort is worth it
Before you spend hours scrubbing, it’s worth being realistic. Not every chair is still safe - even if it could look presentable again.
Safety check before cleaning
- Check frames and seats for cracks and breaks
- Gently flex the chair legs - if the material gives too much, it may snap
- Avoid heavily discoloured areas with fine cracking; plastic is often brittle there
If you see deep cracks or hear creaking when weight is applied, that piece belongs at a household waste recycling centre, not back on the patio. Safety clearly matters more than appearance.
Cosmetic repair for worn surfaces
If the structure is still solid, there’s plenty you can do. Fine sandpaper (around 120 grit) can smooth dull, lightly eroded patches. After that, a specialist plastic paint can be applied to restore a more even look.
Outdoor plastic spray paints are convenient for chairs and tables with lots of curves. If you use a brush, apply thin coats to avoid runs. Always follow the manufacturer’s guidance on drying time and weather resistance.
How to delay yellowing for much longer
Once the furniture looks clean again, what you do in the coming months will largely determine how long it stays that way. A few simple habits can extend its life.
- Choose the position carefully: Don’t leave it permanently in harsh midday sun if shade is an option.
- Use a cover: Even a basic protective cover greatly reduces UV exposure and dirt.
- Let it ‘hibernate’ over winter: Stack chairs and store them in a garage, cellar, or a dry shed.
- Regular quick wash: Every few weeks, wipe down with washing-up water instead of relying on one big annual clean.
"If you treat plastic furniture like a car - cover it, wash it occasionally, and don’t park it permanently in the strongest sun - you’ll enjoy it for much longer."
Why vinegar and bicarbonate work so well
Plenty of household “hacks” sound promising but deliver little in practice. This one does have some chemistry behind it, which is worth understanding.
White vinegar contains acetic acid, which breaks down limescale and mineral deposits that build up through rainwater and splashes. Those thin layers are exactly what can make surfaces look dull and patchy.
Bicarbonate of soda is mildly alkaline and acts like an ultra-fine scouring powder. With water and a little rubbing, it loosens stubborn dirt without harsh abrasion. Combined with washing-up liquid, you get a mixture that tackles grease, organic residue and light limescale in one go.
A realistic scenario: what the mix can do - and what it can’t
If a white plastic chair has sat unprotected in full sun for ten years, no household remedy will make it look factory-new again. Even so, you can often rescue far more than you’d expect over a weekend.
Typically, the mix noticeably lightens greying, reduces many yellow shadows, and gives a more uniform overall appearance. Minor shading often remains visible, but it stops dominating the look. For a barbecue with friends, that’s more than enough - and you can put off buying replacements for a few more seasons.
Taking a before-and-after photo can be helpful. It makes it easier to judge what the treatment achieved - and whether a second round is worthwhile or you’ve reached the practical limit.
When changing the material is the better option
If you battle the same issues every year, it may be worth buying more strategically next time. Not all plastic is the same, and not every material ages with the same brutality.
- Plastic with UV protection: Usually labelled by the manufacturer; typically a bit pricier, but much longer-lasting.
- Through-coloured plastic: Pigment is mixed into the material rather than only applied to the surface, so wear is less obvious.
- Combination furniture: A metal frame with plastic seating combines stability with a smaller dirt-prone surface.
- Wood or metal: Needs more maintenance, but offers a different look and different ageing behaviour.
If you already own a set, you can also tackle it gradually: replace badly damaged pieces, refresh intact ones using the household mix, and upgrade step by step rather than throwing everything away at once.

Comments
No comments yet. Be the first to comment!
Leave a Comment