
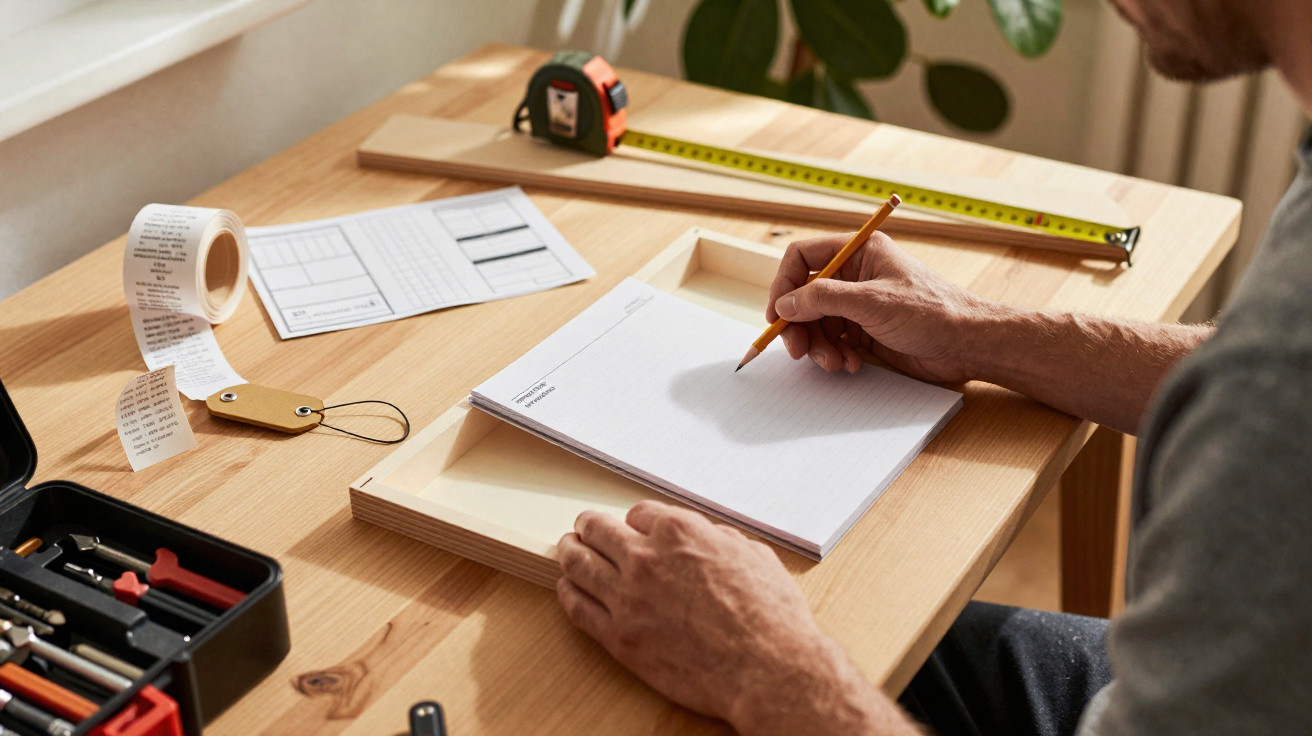
Rising prices and Instagram-perfect DIY projects are nudging plenty of people towards the drill and away from the furniture shops.
With inflation biting, cookie-cutter flats everywhere and TikTok tutorials making everything look easy, making your own furniture can seem like the obvious move. A made-for-you oak dining table, a bookcase that follows a sloping wall, a TV unit cut to the millimetre for your space - it’s an appealing idea. The problem is that the money narrative behind that idea is often misrepresented, and that’s where the costly error starts.
The hidden calculation most DIY fans get wrong
Most people do the same quick comparison: they match a homemade piece against the ticket price of something similar at Ikea or another big-box retailer. They total up timber, screws and a tin of varnish, then assume they’ve found a bargain. But that only captures part of what you actually pay.
Building your own furniture rarely costs just “the price of materials” – your time, tools and learning curve carry a real value.
A typical mistake looks like this. Someone spends £120 on timber and fixings, then sets it beside a £280 Ikea table and decides they “saved” £160. What tends to be forgotten is the £90 circular saw bought “for next time”, the drill bits that broke, the sandpaper, the clamps, the finish, delivery charges on boards cut to size - plus two full weekends that vanish.
Economists have a name for this: “opportunity cost”, meaning what you forgo by choosing one option over another. It fits DIY furniture perfectly. Building a wardrobe from scratch isn’t just swapping money for wood; it also swaps three Saturdays, several evenings and the energy you could have used elsewhere.
If you never count your time, DIY can look like a bargain. Start assigning it a value, and the picture changes quickly.
When DIY furniture really makes financial sense
In spite of the hype, home-built pieces usually don’t win a straight price fight against ultra-cheap entry-level furniture. A £39 flat-pack side table sold by the thousand is very hard to beat once you include tools and time.
The calculation changes as you move beyond the cheapest tier and into mid-range, high-end or genuinely bespoke work. A solid-wood bookcase that tracks a sloped ceiling, or drawers fitted perfectly beneath a staircase, can cost a small fortune from a carpenter. In those cases, careful DIY can undercut retail options and still deliver better quality.
Three situations where DIY can pay off
- You’re aiming for solid materials (such as oak or birch plywood) rather than chipboard.
- You need non-standard dimensions that shops simply don’t stock.
- You treat woodworking as a hobby, not as a burden taking time away from other paid work.
Access to shared workshops can shift the maths yet again. Many cities now have maker spaces or community woodshops where you pay a membership fee to use professional machines and get guidance. The cost is still real, but it’s spread across multiple builds rather than landing on one project like a hammer blow.
| Scenario | DIY vs Ikea | Main risk |
|---|---|---|
| Cheap bedside table | Ikea usually cheaper | Tools cost more than the piece itself |
| Large solid-wood bookcase | DIY can win | Underestimating hours and wood waste |
| Made-to-measure under-stairs storage | DIY often cheaper | Precision errors that ruin doors and drawers |
The emotional payoff you can’t put on a spreadsheet
Cost might open the discussion, but feelings often decide the outcome. People who make their own furniture frequently describe a different connection to their home: the evening they finally got the shelf level, the tell-tale mark from the first mis-measurement, the smell of oil finish lingering in the hallway.
That attachment affects how they judge “value”. A £200 DIY bench that includes hours of effort and a couple of small flaws can feel more meaningful than a flawless £200 bench from a showroom. Those imperfections carry a story, and that story quietly lifts the perceived return on investment.
DIY furniture shifts you from buyer to maker, from “does this fit my space?” to “how do I shape this space?”.
There’s also the skills dividend. Every build leaves something behind: understanding grain direction, picking screws that won’t split timber, designing joints that hold properly. The first table might be expensive in time, but the third one is usually faster, cleaner and cheaper.
Why the first project should be smaller than your ambition
The TikTok effect sends many beginners straight to huge oak tables and wall-to-wall wardrobes. That jump often ends with warped boards, incorrect measurements and a quiet trip back to the shop.
Starting smaller usually delivers a better “cost-per-lesson”. A slim hallway bench, a straightforward floating shelf, a basic coffee table - each gives you a practical test of how you cope with tools, noise, dust and frustration. Errors can still happen, but the damage is lower both financially and psychologically.
How to test if DIY suits you before spending a fortune
Before you buy half a workshop’s worth of kit, try a simple three-part trial:
- Rent or share tools: use a community workshop or borrow what you need for a weekend.
- Set a time budget: decide upfront how many hours you’re willing to spend.
- Track every expense: screws, glue, sandpaper and finishes all belong in the spreadsheet.
When you’re done, compare the full cost and the time spent with a realistic shop equivalent. If you feel proud and energised, the figures may matter less. If you feel exhausted and irritated, that’s useful feedback before you attempt something bigger.
Shared workshops, classes and safer learning curves
A quiet obstacle keeps many people from DIY furniture: fear. Fear of injuring a finger, ruining expensive wood, or simply looking clueless. Shared workshops and short courses can bring that barrier down.
These spaces commonly provide induction sessions covering basics: how to handle a circular saw, when to wear masks, why a blunt blade is more dangerous, and how to clamp work properly so it doesn’t kick back. With supervision, a beginner can build a bathroom unit or a storage cube without turning the living room into a sawdust disaster.
The smartest first investment is often not a tool, but instruction: a few hours with someone who knows where mistakes usually happen.
That support also reshapes the cost equation. A well-guided plan cuts down wasted timber and abandoned attempts. Cleaner cuts and accurate measurements mean fewer recuts and fewer “emergency” runs to the DIY shop that push a project over budget.
A simple way to simulate the real cost of a DIY piece
Before committing to a major build, it helps to model the cost with a rough worksheet. Choose the piece you want, write down the shop price, then list what the DIY version would require, including:
- Timber or sheet goods, plus 10–20% extra to cover mistakes.
- Hardware: screws, brackets, drawer runners, hinges.
- Finishes: primer, paint, oil or varnish, brushes or rollers.
- Tool costs: either the purchase price or an allocated share of workshop membership.
- Your time, using an hourly rate that feels honest for your life.
Then test two versions: an “optimistic” run where most things go to plan, and a “messy” run where you miscut a panel or change your mind halfway through. The gap between the two shows how error-sensitive the project is. If it’s highly sensitive, either scale it down or get more guidance before starting.
Beyond money: other gains and risks to weigh
DIY furniture also intersects with sustainability and how you live long term. Making it yourself can mean choosing certified timber, avoiding certain glues, and designing pieces that can be repaired rather than dumped. Even small choices - like using mechanical fixings instead of permanent glue - can make later repairs cheaper and less wasteful.
There are downsides as well. Power tools create noise for neighbours, dust in small flats, and a need for secure storage so children can’t get hold of a saw. Offcuts and finishes need proper storage or recycling. These practical realities rarely feature on social media, yet they shape day-to-day life with a workbench far more than a viral clip.
If you do catch the making bug, one more route often appears: combining store-bought and homemade. Many people start by hacking basic Ikea frames with custom doors, wooden tops or side panels in better materials. This hybrid method keeps spending manageable, reuses existing hinges and hardware, and still produces a tailored result. It also reduces the classic miscalculation: you don’t have to replace everything with DIY - only the pieces where the balance of time, money and enjoyment genuinely swings in your favour.





Comments
No comments yet. Be the first to comment!
Leave a Comment