
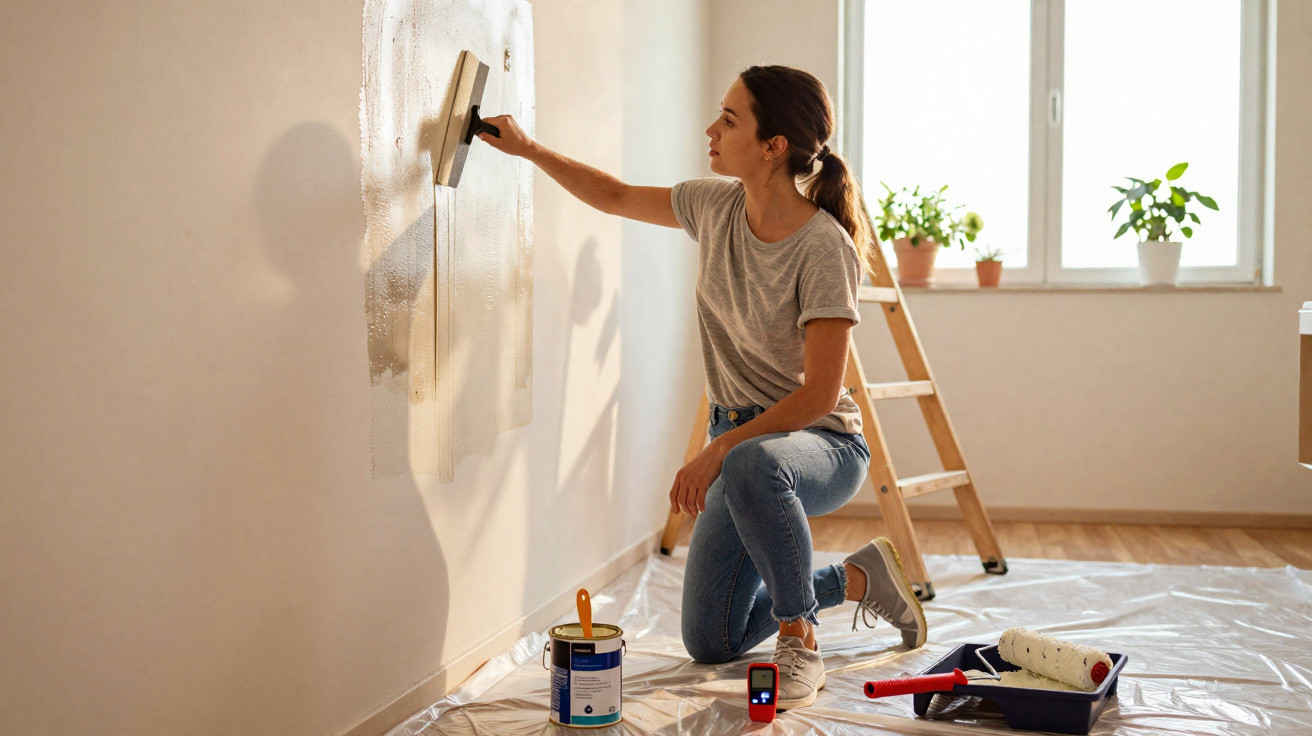
Damp on internal walls is one of the most common issues in houses and flats, especially in areas with frequent rainfall or sharp temperature swings. Dark staining, peeling finishes and lingering musty smells usually mean the fabric of the building has been affected for some time. That is why knowing how to repair a wall with damp is essential to protect your property and to avoid larger costs later on.
How does damp appear and spread through walls?
Water ingress can start through external cracks, damaged roofing, or faults in gutters and flashings, allowing moisture to reach the internal plaster. In other situations, rising damp from the ground travels up through the masonry, mainly impacting the lower section of walls and skirting boards.
Rooms such as bathrooms and kitchens are also prone to condensation: steam from hot showers or cooking settles on cool surfaces, forming droplets that are absorbed by paint. Over time this can lead to blistering, mould growth, flaking paint, and even crumbling plaster, damaging furniture and clothing and-particularly in older buildings-affecting structural elements.
A video from the YouTube channel “The Cat’s Leap in Construction” walks through a step-by-step method for treating walls with water ingress, peeling and damp before applying fresh paint:
https://www.youtube.com/watch?v=qMiwKIn0N7w
How to repair a wall with damp properly
Before any finishing work, you must identify and fix the source of the damp-whether it sits in the roof, the external walls, the foundations or the pipework. If the cause is still active, staining will quickly come back even after repainting, leading to repeated work and wasted materials.
Once the source has been resolved, the internal repair should follow a sequence that greatly improves how long the result lasts:
- Remove loose material: scrape back paint and any plaster that is no longer bonded.
- Clean and disinfect: apply solutions to remove fungus, mould and staining.
- Apply waterproofing products: use sealers, mortars or coatings that make it harder for water to pass through.
- Make good the surface: fill defects, level the area and sand in a controlled way.
- Use the right paint: choose paints designed for damp-prone areas, with good durability and vapour permeability.
Which products are most often used to tackle damp?
When preparing the base, acrylic sealers and stabilising primers help bind the plaster and improve adhesion for the layers that follow. In higher-risk areas, polymer-modified mortars, liquid membranes and reinforced cement-based products are commonly used, applied in coats and allowed to cure properly.
For the finishing stage, anti-mould paints, waterproof paints or “breathable” coatings tend to be preferred because they reduce blistering and flaking. Where salt deposits (efflorescence) and persistent mould marks remain, specialist cleaners and disinfecting agents may need to be applied more than once, always allowing the correct drying time between each step.
How can you prevent damp problems from returning at home?
After the repair is complete, prevention becomes your best tool for keeping walls sound and clean for longer. A few simple habits can significantly cut the chance of damp coming back and help you spot defects early.
- Ventilate rooms: open windows and doors, particularly after showers and heavy cooking.
- Watch for early warning signs: look out for dark patches, unusual odours and small areas of peeling.
- Maintain roofs and gutters: clear leaves, check for blockages and any overflow points.
- Protect external walls: apply waterproof finishes to surfaces that are heavily exposed.
- Use dehumidifiers when needed: especially in closed bedrooms or rooms that are rarely used.
With an accurate diagnosis, the right choice of materials and regular upkeep, damp is far less likely to become a recurring headache. As well as keeping the property looking its best, this approach supports residents’ health by reducing mould, unpleasant smells and the hidden deterioration of the building fabric.




Comments
No comments yet. Be the first to comment!
Leave a Comment