
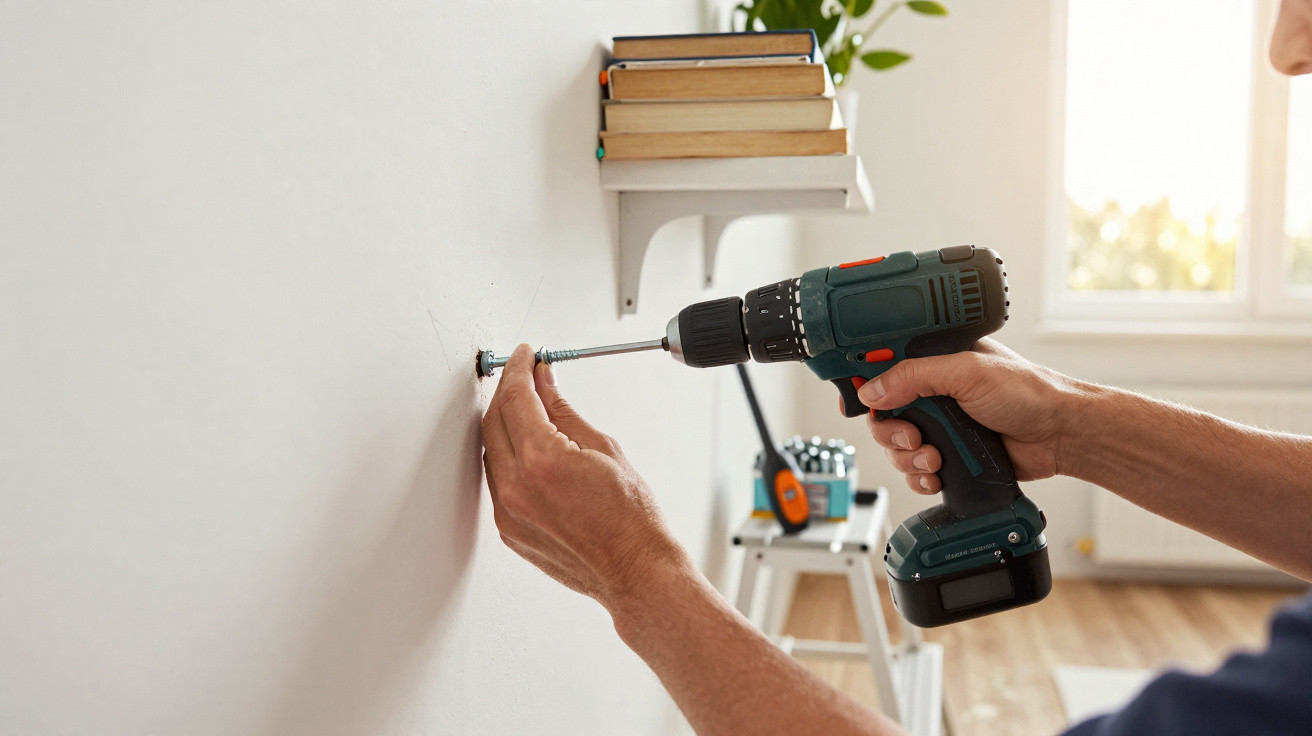
In living rooms and rented flats alike, the same small drama unfolds: drill, wall plug, screw… then that uneasy creak as you place the first heavy book on the shelf. Wall plugs are still treated by many as interchangeable bits of plastic you can push into any hole. In reality, every shelf that stays level relies on a specific approach - including one very simple step that most casual DIYers miss.
Why most wall plugs fail long before the screw goes in
Ask any professional fitter and you’ll hear a familiar verdict: the wall dictates the result. Plasterboard, brick, concrete and hollow blockwork all respond differently to screws and vibration. If you handle them as if they’re the same, the plug is effectively set up to fail.
First step: listen to your wall
Before you buy anything, work out what you’re drilling into. A quick tap with your knuckles can be more revealing than you’d expect. A dull, solid thud usually points to concrete or solid brick. A lighter, echoing sound often means plasterboard or a stud partition with voids behind.
Guessing the wall material is where most “mysterious” DIY failures start.
In older properties, a single room can contain three or four different wall types. That’s exactly why the “one box of universal plugs for everything” habit rarely holds up over time.
The three big plug families you should know
You don’t need a van full of fixings, but having a small, purposeful selection makes a huge difference. It’s easier to think in families than to get lost in dozens of product codes:
- Expansion plugs for solid materials (concrete, stone, solid brick)
- Toggle or cavity plugs for plasterboard and hollow partitions
- Special cavity plugs for hollow brick and lightweight blocks
Expansion plugs tighten and swell as the screw goes in, gripping dense material. Toggle and cavity plugs work the opposite way: they open or spread behind a thin board so they can clamp a wide area. Mixing these families is asking for problems - an expansion plug in plasterboard will simply spin; a toggle in solid concrete can’t open at all.
The overlooked technique that makes plugs really grip
Tradespeople tend to follow a routine that many weekend DIYers skip. It isn’t a premium gadget or an expensive product. It’s a method: drill accurately, clean the hole thoroughly, then “pre‑expand” the plug before you trust it with any weight.
The real trick is treating the plug like a precision component, not like a plastic wedge.
Drill tighter than you think, then clean like a maniac
A common mistake is choosing a bit that’s “near enough”, wobbling slightly, and ending up with a hole that’s just a touch too wide. For a lightweight picture frame, you may get away with it. For a TV bracket, that looseness quickly becomes alarming.
Instead, match the drill bit to the plug size exactly. If the packet specifies 8 mm, use a sharp 8 mm bit - not the blunt one that’s been rattling around at the bottom of the case. Keep the drill square to the wall, and let the bit cut without forcing it or rocking side to side.
Next is the step most people ignore: properly cleaning out the hole. Fine dust left inside behaves like tiny ball bearings between the plug and the wall, making it far easier for the plug to rotate under load.
- Blow out the hole with a hand pump or rubber blower
- Or use a vacuum cleaner’s narrow nozzle held tight against the opening
- If the plaster is very dusty, do both until almost no powder comes out
Only once the hole is clean and dry should the plug go in.
The “pre‑expansion” move installers swear by
Here’s the lesser‑known technique. Rather than fitting your bracket immediately with the final screw, many professionals first use a sacrificial screw to “set” the plug in place.
Drive in a temporary screw to expand the plug fully, then back it out and switch to your real fixing.
That one extra step helps the plastic bite into the wall before any real load is introduced. In practice, it looks like this:
- Push the plug in until it sits flush with the surface, tapping gently with a hammer if needed.
- Choose a screw that’s slightly longer than the one you intend to use for the bracket.
- Drive it in until the plug expands firmly, then remove it.
The plug should now be tightly wedged in its cavity. - Position your shelf bracket or hook, then use the correct screw and tighten fully.
This “pre‑expansion” is particularly effective in materials that are a bit fragile: old plaster, weathered brick, or walls that have been drilled repeatedly. The first screw compresses the plug and forces it into tiny irregularities; the second screw benefits from a much more secure anchor.
Adapting the method to tricky walls
Not every surface behaves predictably. Some walls are patched, cracked or partly hollow. In those situations, the same method still works best - but it helps to add a few sensible adjustments.
Plasterboard and fragile partitions
Plasterboard needs plugs designed specifically to spread and clamp behind the sheet. For anything heavier than a small frame, toggle fixings or metal cavity anchors are a safer choice than basic plastic plugs.
You can still apply a version of the professional trick: expand the fixing once without the final load, confirm it clamps securely to the board, then loosen it slightly to fit the bracket before the final tighten. If the plasterboard feels soft or damaged, it may be wiser to add a plywood backing or a rail fixed across multiple studs to distribute the load.
Old masonry and crumbly brick
With older masonry, the drill can suddenly drop into a void or chew through soft mortar. In those cases, a standard plug on its own may not be reliable. Two simple additions often help:
- Use a slightly longer plug so it can bridge weak mortar and reach more solid material.
- If the wall is very porous, inject a small amount of repair mortar or a specialist chemical anchor, allow it to begin setting, then insert the plug and pre‑expand it.
This gives the plug support not only from the existing brickwork, but also from a fresh, denser “sleeve” around it.
How much weight can your fixing really take?
Manufacturers’ load figures are useful, but they usually assume ideal conditions: a sound wall, perfect drilling and no sudden shocks. Real homes are less tidy. It’s often better to think in practical scenarios so you can match the plug, screw and wall sensibly.
| Situation | Wall type | Recommended approach |
|---|---|---|
| Light frame or poster | Plasterboard or brick | Small cavity plug, one fixing point, pre‑expansion optional |
| Kitchen shelf with books | Solid brick or concrete | Expansion plugs, 3–4 points, pre‑expanded, holes cleaned thoroughly |
| Heavy mirror or TV | Plasterboard | Metal cavity anchors, multiple fixings into studs if possible |
| Tall bookcase anti‑tip strap | Any | High‑quality plug and screw, even for a single strap, pre‑expanded |
Small extras that quietly improve every fixing
Low‑tech hacks for neater holes
If you’re drilling into glossy paint or tiles, a strip of masking tape over the spot helps reduce chipping. For ceilings, a small plastic cup or folded piece of card around the bit will catch dust before it lands in your eyes or on the floor.
On very porous walls, some fitters add a small drop of construction adhesive into the cleaned hole just before the plug goes in. The adhesive doesn’t carry the load by itself, but it can help stop the plug shifting and reduce tiny movements over time. The downside is that removal becomes more difficult later, so it’s best reserved for fittings you don’t expect to move.
Understanding a few key terms
DIY packaging often uses technical‑sounding wording that’s actually straightforward:
- Shear load: sideways force on the fixing, such as a shelf pushing outwards.
- Pull‑out load: force trying to drag the screw straight out of the wall.
- Expansion: how the plug swells to grip the surrounding material as the screw goes in.
A heavy TV mount creates both shear and pull‑out loads. That’s why it’s safer to spread the weight across several properly installed fixings - drilled accurately, cleaned thoroughly and pre‑expanded - rather than relying on a single oversized plug.
Once you start working this more deliberate way - choosing the right plug, drilling a tight clean hole, and adding that pre‑expansion step - fixing into walls stops feeling like a gamble. Shelves, mirrors and brackets do what they should: stay exactly where you put them, season after season.





Comments
No comments yet. Be the first to comment!
Leave a Comment