
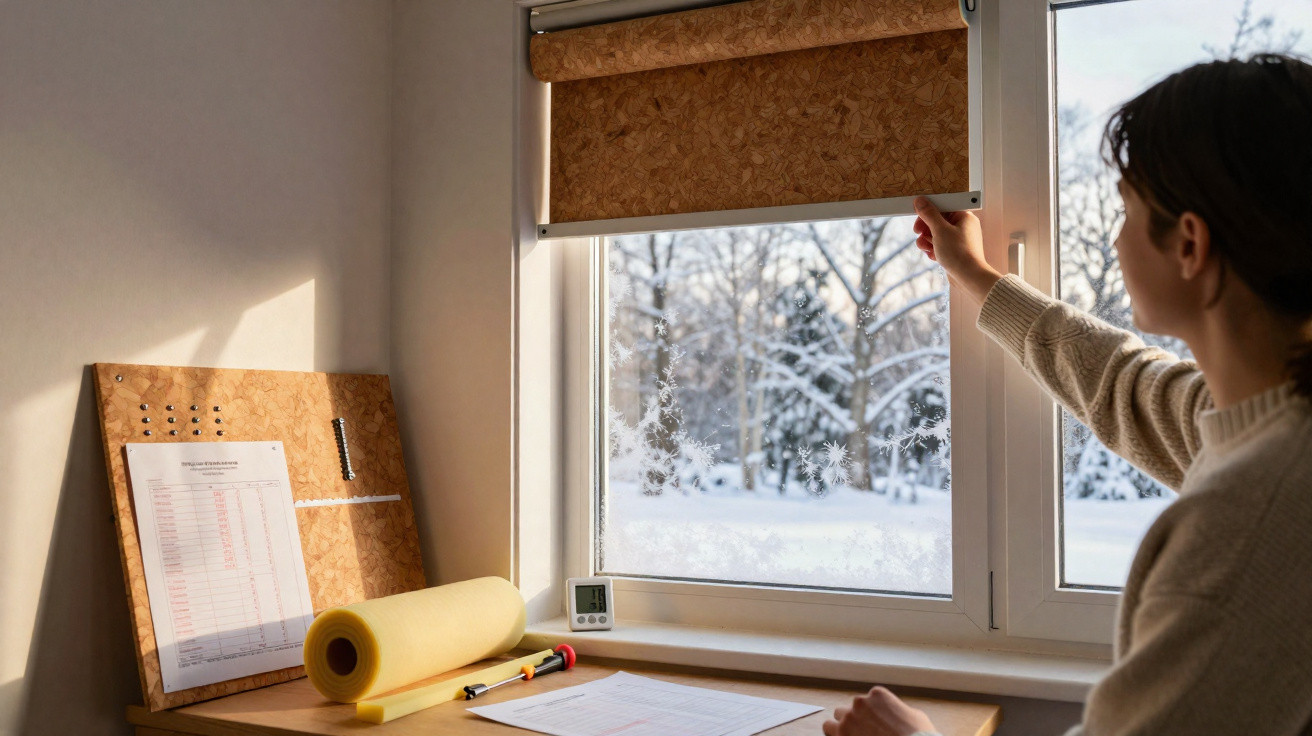
If you feel icy draughts near a window in winter even with the heating turned up, it’s easy to blame poor glazing or leaky frames. Very often, though, the chill is coming from somewhere else entirely: the roller shutter box. With a few straightforward steps and low-cost materials, you can noticeably improve this weak point - and energy experts say savings of up to 20 per cent in heating energy consumption are possible.
Why the roller shutter box becomes a hidden cold spot
Roller shutters are generally a sensible addition: they help deter break-ins, reduce noise and improve thermal protection at the window. The issue is frequently not the shutter curtain itself, but the box where the slats roll up.
In many older homes, the box is made from thin timber or plastic panels with little to no insulation. In some cases, only a few millimetres of material separate your living space from the outdoor air. Gaps, joints and poorly fitting access panels then allow cold air to flow straight into the room.
"A leaky roller shutter box is like a small window that’s permanently open - invisible, but clearly reflected in your heating bill."
Professionals refer to this as a “thermal bridge”: cold outside air cools the box and the surrounding building elements. Your heating system has to work harder to maintain the temperature you want. If you have several of these boxes in a property, the effect becomes obvious - both in comfort and in cost.
How much energy you can save with better insulation
One roller shutter box may not look like a major problem at first glance. Taken together, however, they add up to a sizeable area through which heat can escape. Energy suppliers and refurbishment specialists assume that targeted insulation of roller shutter boxes can deliver savings of up to one fifth of heating energy, especially in older properties that have not been modernised.
- fewer draughts around the window
- a more even room temperature
- noticeably lower heating demand
- improved sound insulation against external noise
The key benefit is that you do not need to hack into walls or replace windows. Existing boxes can usually be upgraded with manageable effort - often in a single afternoon.
Step by step: how to insulate the roller shutter box yourself
Safety first: raise the shutter and isolate the power
Before you start, lift the roller shutter fully so the curtain is housed inside the box. If you have an electric drive, switch off the circuit at the consumer unit (remove the fuse or turn off the relevant miniature circuit breaker). This prevents the motor from moving while you are working.
Open the box and check the available space
Depending on the design, the access panel (inspection hatch) can be unscrewed or unclipped. Work carefully so the cover does not crack. Then measure the clearance between the shaft that the shutter rolls onto and the inner walls of the box.
In many cases the space is tight, so a thick block of insulation simply will not fit. That is why accurate measuring is essential before you buy materials. Just as important: wipe down the inside surfaces with a dry cloth or use a vacuum cleaner attachment so adhesive and insulation boards bond properly later.
Which insulation materials are suitable for roller shutter boxes
Shops stock several options that are specifically designed for - or at least very well suited to - insulating roller shutter boxes. They vary in price, installation effort and extra benefits such as sound reduction.
Natural option: cork boards
Expanded cork is often seen as a more sustainable choice. It is made from the bark of the cork oak and pressed into boards of different densities. This makes it possible to add insulation even where there is limited room, significantly slowing the ingress of cold.
- strong thermal performance with minimal thickness
- natural material, resistant to moisture
- easy to cut and glue in place
The classic choice: stone wool for narrow boxes
Stone wool (often sold as “mineral wool” in DIY stores) is produced from molten rock. It offers a strong price-to-performance balance, is non-combustible and copes with moisture better than many other insulation types. For roller shutter boxes, boards around 2 to 5 centimetres thick are usually sufficient.
If you choose this approach, opt for rigid boards or firm mats. Loose fibres are awkward in a confined box and can irritate during handling. Wearing gloves and long sleeves is advisable.
For more peace and quiet: foam with sound insulation
If you live on a busy road or near railway lines, it is worth considering specialist foams that dampen vibration and noise. These products combine thermal insulation with sound insulation, and are typically supplied as boards or mats that can be cut to size and glued in.
Special systems for roller shutter boxes
Manufacturers now offer purpose-made insulation sets for roller shutter boxes. Commonly, these include pre-formed foam panels with grooves and cut-outs so they fit neatly around the shaft and against the box walls.
"For anyone without much DIY experience, pre-cut insulation kits are often the most convenient option: minimal trimming, clear instructions, and the right adhesive."
In many DIY stores, you will find these systems in the windows and doors section. They often include:
- rigid foam panels that are easy to trim
- suitable монтажe adhesive, often neoprene-based
- sealing profiles or silicone tapes for joints
Important: the panels must not obstruct the shaft. When fitting, always leave a little clearance so the roller shutter can still move up and down freely.
In most cases, you also need seals
Even the best insulation performs poorly if the box cover does not close tightly. Small gaps are enough to create a noticeable draught. Silicone or rubber seals can reliably close these joints.
How to seal the box properly
- Check the line of the gaps around the access panel.
- Remove old, brittle seals and clean away adhesive residue.
- Cut new sealing profiles to size and stick or clip them into place.
- Close the panel and check it sits firmly all the way round.
Where sealing tape is not suitable, a high-quality silicone sealant can be used instead. It works well for closing narrow gaps where the box meets the wall. Take care not to block any ventilation openings specified by the manufacturer.
What these measures deliver in day-to-day life
Many residents notice the difference within hours of sealing up the box: the familiar cold air movement by the window disappears and the room feels more consistent. Radiators typically do not need to be turned up as high to achieve the same comfort.
If you treat several roller shutter boxes in a house, people often experience:
- noticeably fewer draughts in seating areas and bedrooms
- smaller temperature differences between the window zone and the centre of the room
- less condensation on the glass because surfaces cool down less
This is particularly worthwhile in older properties with uninsulated external walls. In these buildings, roller shutter boxes are often poorly insulated, and any upgrade has an immediate impact on how the rooms feel.
Practical tips and potential pitfalls
Not every box is constructed the same way. With very old models, access is sometimes from the outside façade. If you are not confident on a ladder, it is safer to call in a specialist. The same applies if the box is difficult to open or the drive mechanism seems complicated.
In rented flats, you generally need the owner’s permission before making permanent changes. A brief message highlighting potential heating-cost savings can persuade landlords more quickly than you might expect.
One point that is often underestimated is ventilation. If you seal up every draught in a home, you need to ventilate more deliberately so moisture can escape. Regular “shock ventilation” (brief, wide opening of windows) helps prevent mould and keeps the indoor climate comfortable.
Why it pays to focus on small details
Major upgrades such as new windows or insulated façades are expensive and disruptive. Roller shutter boxes are among the components where relatively minor work can produce surprisingly large benefits. Many material packs cost less than a single month’s heating bill and continue to pay off for years.
If you want to improve your home’s energy performance step by step, these “small jobs” are often the most sensible place to begin. Roller shutter boxes, radiator recesses, door gaps - all of these spots add up. Improve each one a little, and overall energy demand falls noticeably, while your home finally feels as warm in winter as the thermostat suggests it should.






Comments
No comments yet. Be the first to comment!
Leave a Comment