
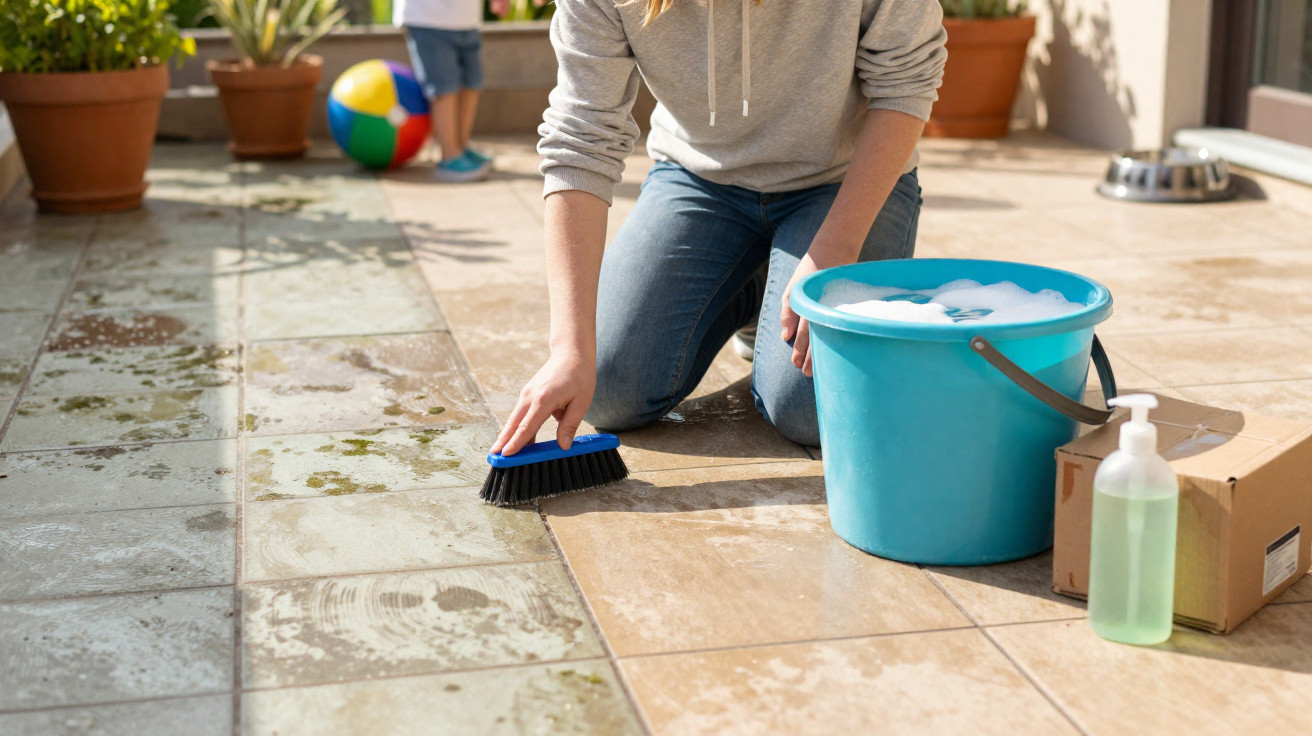
Many people reach straight for a pressure washer, chlorine or vinegar, then wonder later why the joints have crumbled, the slabs look dull and the flowerbeds have suffered. A straightforward blend of two everyday products can deliver the same result - with no white vinegar, no specialist machine and a much gentler approach for the garden and pets.
Why the patio looks so grim after winter
After months of rain, frost and weak sunlight, algae, lichen and general grime settle onto patio slabs. In spots where the table, chairs or barbecue sit, you can also end up with rusty rings or brown stains caused by metal and wood.
Because the change happens gradually, it barely registers through winter. Then, the first time you sit outside in spring, everything suddenly looks grey, flat and neglected. That’s when many people feel forced to “use a sledgehammer to crack a nut” - and drag out the pressure washer or reach for harsh chemicals.
Why vinegar and pressure washers are not a long-term fix
A pressure washer shifts dirt quickly, but the powerful jet comes with downsides:
- Jointing material gets washed out, and weeds return faster.
- The surface of the slabs becomes rougher, so dirt sticks more readily in future.
- On older patios, whole slabs can loosen or edges can chip and break away.
Plenty of gardeners then switch to supposedly “natural” options and pour vinegar water over the patio. It sounds mild, but it isn’t: vinegar is acidic. On some natural stone, it can etch the surface, leave pale marks and damage the structure. If that mix runs into the soil, it may also harm microorganisms and nearby plants.
"Anyone who uses vinegar, chlorine or a pressure washer year after year risks wrecking their patio in the long run - even though they’re trying to save it."
The two simple products that get patio slabs clean again
This approach relies on a combination of soda crystals and ordinary washing-up liquid. That’s all you need.
What soda crystals do
Soda crystals (also called washing soda) originally come from laundry care. They break down greasy dirt, soften organic deposits and help lift stubborn film from hard surfaces.
- tackle grease and barbecue residue
- loosen green growth and everyday outdoor grime
- rinse away cleanly with water
Important: washing soda is not the same as caustic soda. Caustic soda is far more aggressive and has no place in patio joints. In shops, washing soda is usually found in the laundry or household cleaning aisle.
Why washing-up liquid is the hidden star
Washing-up liquid brings two major advantages: it cuts through grease and it spreads easily across wet surfaces. On patios where people often barbecue - or where soot and fine dust settle from nearby roads - a thin greasy film can sit on the slabs. That film helps dirt and green deposits cling on.
A basic, colourless washing-up liquid with no bleaching additives is perfectly adequate. If you want the kindest option around plants, choose an eco-labelled version.
How the 2-product trick works, step by step
The key benefit: you can do it without special equipment and without the noise. A broom, a stiff brush, a bucket and a garden hose are enough.
- Clear the joints: Remove weeds first using a joint scraper or an old knife blade. The cleaner the joints, the better the solution can spread.
- Sweep away loose dirt: Brush the whole area thoroughly with a stiff broom.
- Dampen the slabs: Use the garden hose to wet the surface evenly until it’s properly soaked.
- Scatter soda crystals: Sprinkle a thin, even layer over the wet patio. Don’t pile it up - a light dusting is enough.
- Add washing-up liquid: Squeeze a few lines or dots across the surface from the bottle; don’t overdo it.
- Scrub: Work the mixture in with a scrubbing brush or a stiff yard brush, tackling the patio one section at a time.
- Leave it to work: Let the area sit undisturbed - ideally for up to two days, and rain isn’t a problem.
- Rinse thoroughly: After the waiting time, hose everything down well until no foam remains.
"The blend of soda crystals and washing-up liquid loosens the dirt, the broom provides the mechanical action, and time does the rest."
Safety points and common mistakes when cleaning a patio
Soda crystals are much milder than strong drain cleaners or acids, but they are alkaline. A few basic rules make the job safer:
- Wear gloves while sprinkling and scrubbing.
- Keep children and animals away while the surface is wet.
- Cover open drains if sensitive materials are present.
If it’s your first time using the mix - or you have delicate natural stone - try it in an inconspicuous corner first. That way you can see how the stone responds and how firmly you can scrub later.
What undoes the results
After a successful clean, many people fall back into old habits and reach for bleach or vinegar the next time a small stain appears. That’s exactly what weakens joints and can discolour the surface. Wire brushes and very coarse abrasive pads also cut micro-grooves into the slabs - perfect places for the next wave of green growth to take hold.
Even sweeping too often with hard, metal-edged tools can cause long-term damage. Brushes with stiff but non-metal bristles are the better option.
How to keep the patio cleaner for longer afterwards
Once the winter muck is gone, maintaining the result doesn’t take much. A simple routine is enough:
- give it a quick sweep every two to three weeks
- mop up spilled drinks or barbecue fat immediately with warm washing-up water
- remove fallen leaves promptly in autumn so they don’t leave dark stains
- repeat the 2-product method once a year - in spring or autumn - in a lighter form
Placing outdoor furniture and the barbecue on small rubber feet or pads also helps prevent rust marks and tannin stains on the slabs.
Different surfaces, small tweaks
Depending on the material, you can adjust the method slightly:
- Concrete and exposed aggregate slabs: Usually trouble-free; these surfaces generally tolerate firmer scrubbing.
- Ceramic and porcelain patios: Often very smooth, so use less soda and a softer brush - otherwise it’s easy to slip while working.
- Light-coloured natural stone: Test a small area first, use less product and rinse especially thoroughly.
For newly laid patios, it’s worth checking the manufacturer’s or installer’s paperwork. Some finishes come with factory-applied coatings and need specific care.
What’s really behind green deposits
That green film that shows up after winter is usually made up of algae and fine lichen. They thrive in damp, shaded conditions. Where water sits longer or air doesn’t circulate well, fresh layers can form quickly - even after a thorough clean.
If possible, tackle the cause as well: ensure a slight fall so rainwater drains away, and avoid pushing heavy plant pots directly against walls or boundaries. Even a few centimetres of clearance improves airflow and slows the return of new growth.
Practical extras for homes with pets and children
In households with children or pets, the cleaning method matters even more. Residues from strong cleaners can otherwise end up on paws, bare feet or in nearby beds.
This mix works well because, after thorough rinsing, it doesn’t leave aggressive chemicals behind. If you want to be extra cautious, wait until the surface is fully dry before using it again - and when in doubt, rinse once more with clean water.
Pet owners often know the issue of food and water bowls on the patio: rings and dark patches appear quickly. A small tip: place plastic or rubber mats underneath and clean those separately - and the surrounding area will stay presentable for much longer.

Comments
No comments yet. Be the first to comment!
Leave a Comment